The Loreo macro 3d attachment—improved.
By Donald E. Simanek.
The stereo pictures below are presented for cross-eye free viewing. You should have a display screen at least 1000 pixels wide. The cross-eyed viewing method takes some people a while to learn, but is worth the effort, for stereo pairs may be presented on the page (or screen) much larger than with other free-viewing methods. To learn how to do this, see How to View 3d. At first, it helps to move your head farther from the screen until you can reliably fuse the two pictures, then move closer, slowly.In my review of the Loreo 3d macro "lens-in-a-cap" attachment, I concentrated on the virtues and faults of the device "out of the box" from the perspective of the user new to stereo. That seems to be the focus market for it. This user may not know what sort of results to expect. However, unlike the other Loreo products, this device is limited to small subjects, photographed from a distance of 9 to 32 inches. This takes it into the range of specialized photography, with which the user may not be familiar.
The single sheet of insructions packed with this lens provide very little help to the user. It does not suggest ways in which the lens may be most efficiently used. No suggestions are made for overcoming the limiations of the device. I list those here:
- This is a manual focus lens. No focus preview function is provided.
- The maximum aperture is f:11, hardly enough to get a decent image in the viewfinder for focusing and composing, even in full sunlight.
- Outdoor subjects, flowers and insects, require you to get down on hands and knees to try to compose a dim image in the viewfinder, while your subject (bees, for example) are happily buzzing from one flower to another and won't sit still while you fuss with focus and composition.
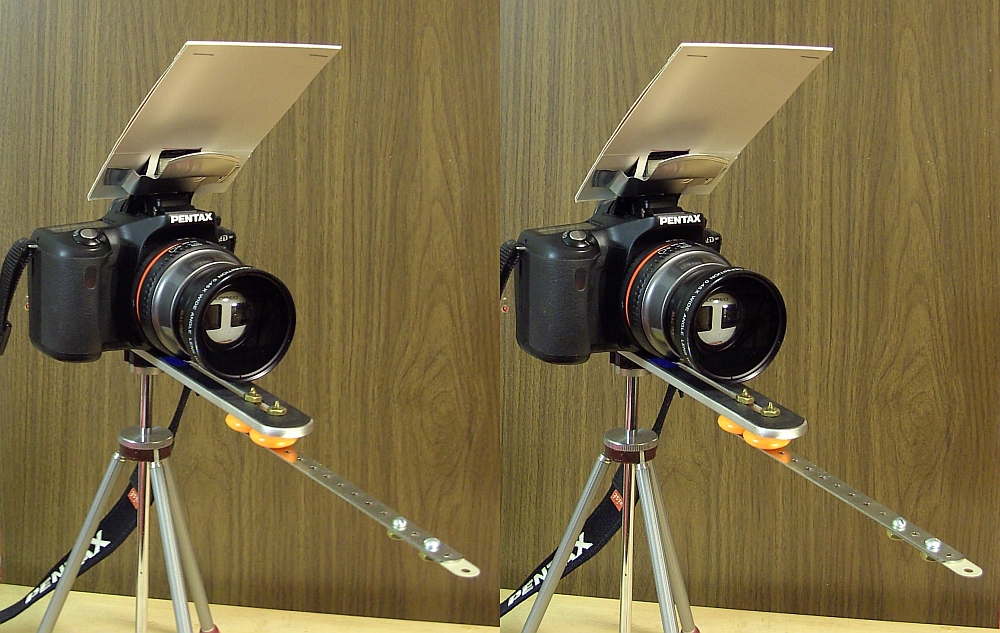 |
| The Loreo 3d Macro Lens in a Cap mounted on a Pentax 1stDS digital SLR. Homebuilt flash reflector/diffuser. A 0.7x wideangle adapter is attached. The extension below aids in judging subject position and distance. |
|---|
This picture shows the system I found most practical. With it one can stalk the garden wildlife without ever getting down on hands and knees, and without lugging along a clumsy tripod.
The flash reflector diffuser is made from white cardboard from a candy box and some aluminum from a peanut can lid. It slips onto the camera's pop-up flash, and provides supplementary fill light for daylight photos. I have found that this is one of the handiest accessories for macro photography. One could make it of sheet metal, for greater light on the subject.
My intent was that the system can be used without ever having to look through the viewfinder.
The pointer extends to just a couple inches short of the distance to the subject. So the end of the pointer is positioned just a couple of inches below and the same amount nearer than the subject. This can usually be easily done while standing up.
Note on construction. The wide aluminum rod with slot is from an old flash adapter. The narrow metal extension is a Meccano part. The orange spacers lower it to just outside of the field of view. These were from a sack of plastic beads of various shapes, found in a dollar store. Thanks to the slot, a later version of this will allow the Meccano extension to slide to different positions over a range of at least 2 inches.
And, finally, I have become convinced of the usefulness of a wideangle adapter with this lens. I was skeptical at first, but I've tried the system with and without the wideangle, and now use it all the time. It gives a significantly greater picture area, and a narrower dark band between the L and R images. It allows the subject to be closer to the camera, thereby increasing stereo depth. It also seems to act a bit like a lens hood, minimizing the occasional light flare in the left image, common to the Loreo devices. In fact, I've never gotten flare when using the wideangle. For those who are interested, this wideangle is not expensive. It is a "Digital Concepts Wideangle Lens with Macro", labeled 0.45x (area), which is about 0.7x linear, threaded 52mm, and cost $30. I've seen it since as low as $15. There are more expensive lenses with less barrel distortion if you want the very best. But is that extra quality important here? In this application one is not using the full angle of view that you'd use with a "normal" camera lens. After cropping, you aren't using the outer area of the field of view, which is where distortion is common in these lenses.
The Loreo lens has settings for distance from 9 to 32 inches, measured from the front of the lens. With the wideangle adapter the 32 inch setting becomes 9 inches from the front of the wideangle lens. I determine this correction by looking through the viewfinder at a bright subject, like the printing on an incandescent light bulb, then adjusting the distance finder to the desired distance. I made a table of lens distance setting vs. actual subject distance, for future reference. Since it is impractical to focus through the viewfinder, I preset the distance and leave it alone during an outdoor photo shoot unless there's a good reason to change it. In a studio setting, with bright floodlights, then, and only then, would I focus by changing the lens setting.
For greatest depth of focus, I usually choose f:22 and leave it there. Again, it's not practical to fiddle with that while chasing a bumblebee. There's little enough depth of focus anyway, and sometimes I wish that Loreo had provided f:45.
But the bottom line is the results. Here are a few:
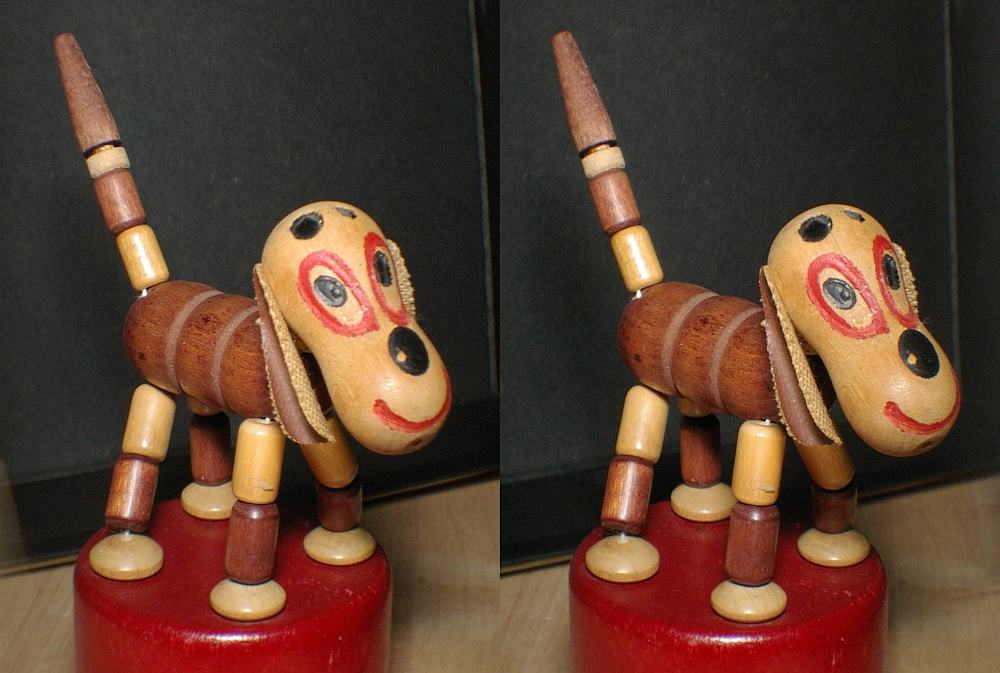
An old wooden articulated toy dog. His head is 1.5 inches long. Subject distance 9 inches.
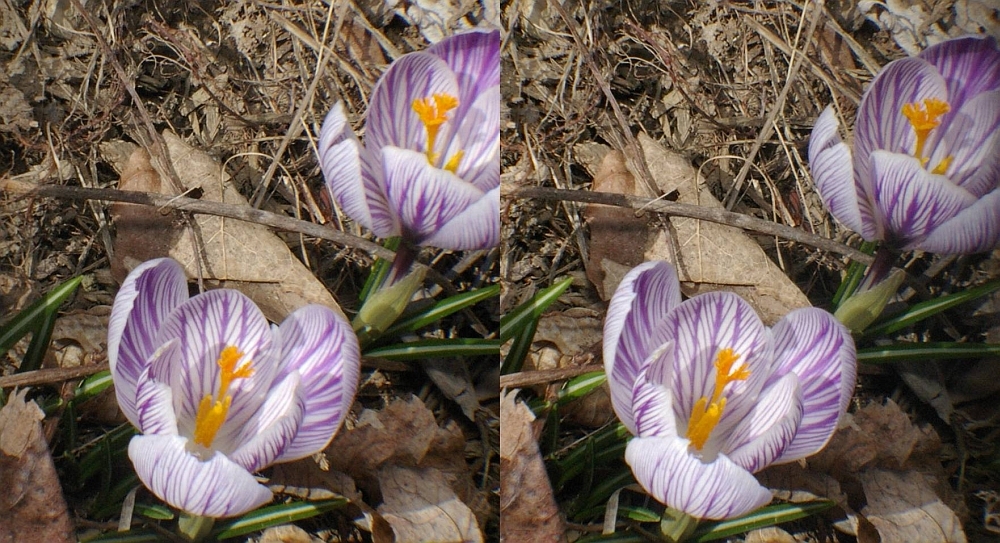
It's spring (March 2009) and the early spring flowers like the Crocus, make good subjects.
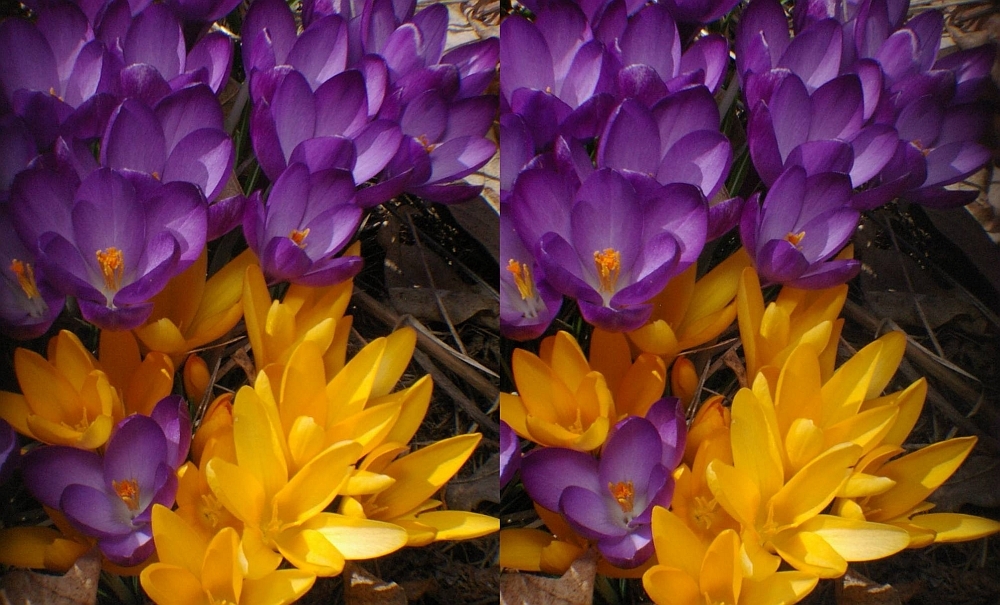
I'm in the habit of photographing flowers a bit on the dark side, figuring I can lighten them later. Then I often don't alter them.
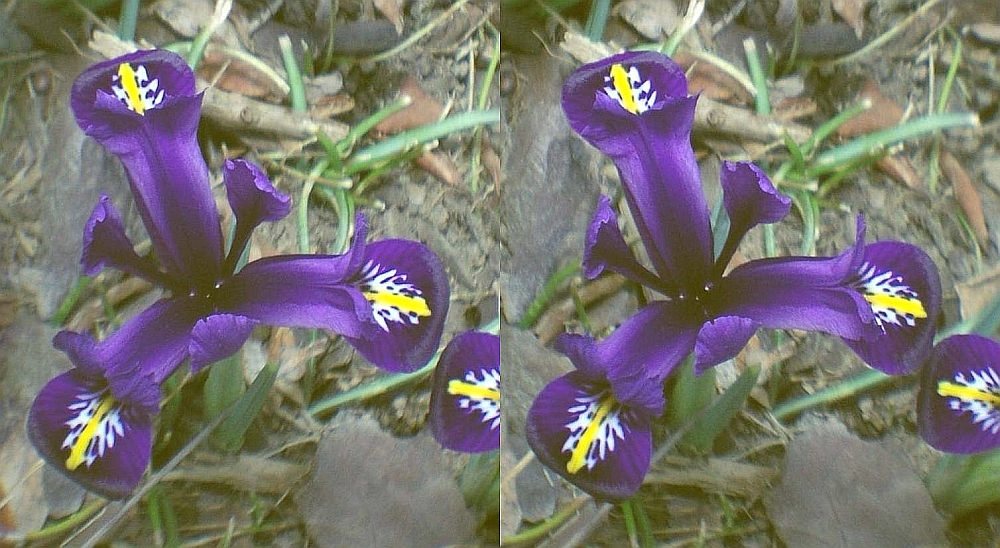
This early purple Iris was accidentally photographed with electronic flash and the tungsten light setting, but even with that corrected after the fact, it is a pleasing photo.
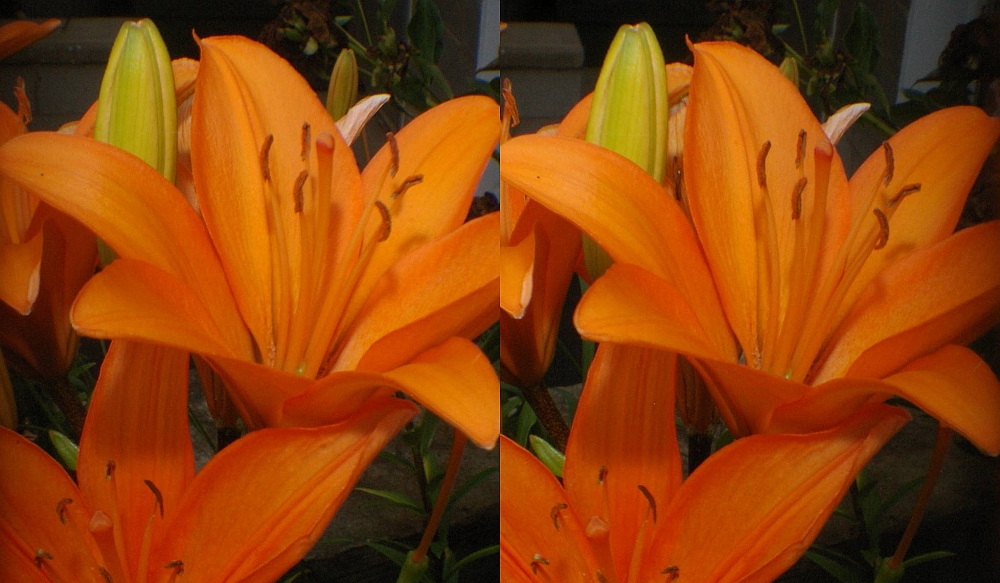
Garden lilies, in early July. Pop up flash with reflector. Close up photography of this sort has limited depth of field. In this case the background does not distract because the foreground fills the picture frame, and the flash ensures the background is darker.
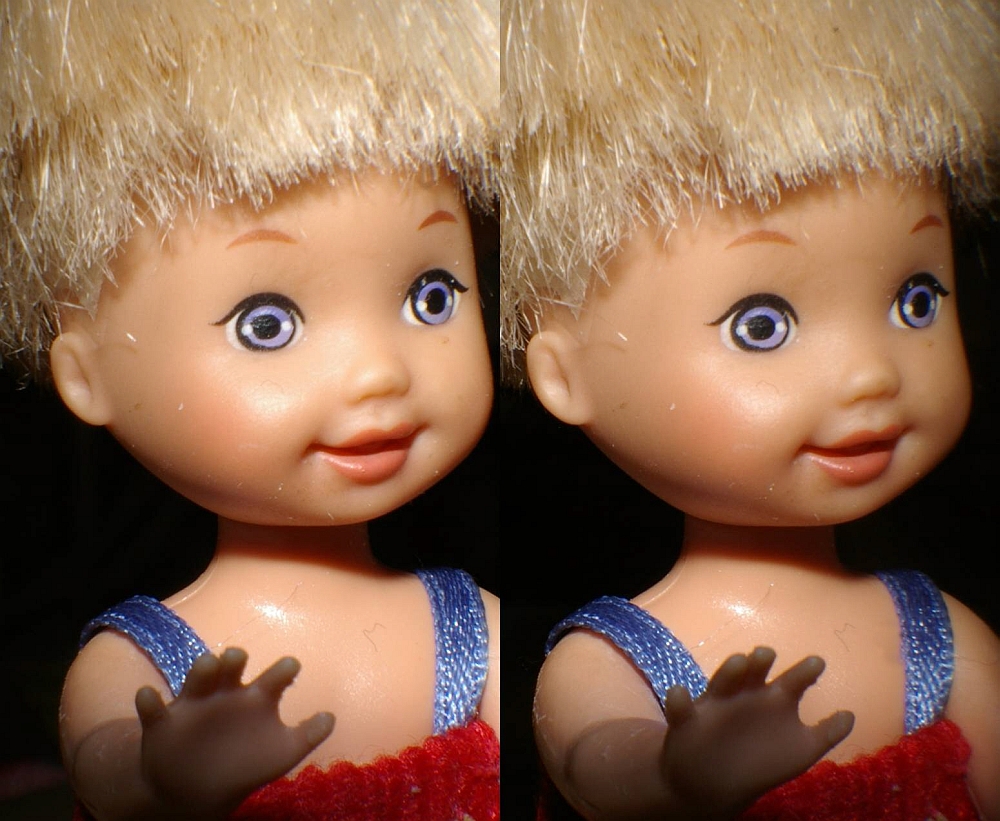
The Loreo + wideangle combination can focus down to 3 or 4 inches. Here's a picture of a small 5 inch doll.

These live butterflies were part of an indoor exhibit at Clyde Peeling's Reptileland in Sept 2009. These are more difficult photo subjects than you might think, because they don't sit in one place very long.
I've seen disparaging comments about the Loreo beam-splitter adapters, from folks I would call "stereo snobs", who haven't actually used the Loreo. They cannot believe that any photographic device with polymer composite lenses and plastic body could be worthy of the slightest consideration, especially an inexpensive adapter such as this to be used with an expensive SLR camera. But for the majority of stereo pictures of this sort that one might make, these results are pretty darn good, I'd say. They are fully adequate for most viewing methods available. If you want a device that can take better stereo pictures, you'll have to spend ten times as much, or build it yourself.

All pictures on this page not otherwise credited are © 2008 by Donald E. Simanek.
Stereos for cross-eyed viewing in 3d Gallery One.
Still more, mostly taken with a digital camera in 3d Gallery Two.
Stereo view cards in 3d Gallery Three.
Home-built close-up stereo camera, 3d Gallery Four.
Review of the Loreo stereo attachment 3d Gallery Five.
Review of the Loreo macro stereo attachment 3d Gallery 5b.
Wildlife photography in your backyard, 3d Gallery Six.
A home-built digital stereo camera using mirrors 3d Gallery Seven.
Stereo close-up photography in your garden 3d Gallery Eight.
Stereo photography in your aquarium 3d Gallery Nine.
Stereo digital infrared photography 3d Gallery Ten.
Wider angle stereo with the Loreo LIAC 3d Gallery ll. A failed experiment.
Review of the Fuji FinePix Real 3D W1 camera 3d Gallery 12.
Macrophotography with the Fuji 3D camera. 3d Gallery13.
Panoramic stereo photography. 3d Gallery 14.
Tips for stereo photography with the Fuji 3d camera. 3d Gallery 15.
Mirror methods for stereo photography. 3d gallery 16.
The Fuji 3d macro adapter with flash! 3d gallery 17.
Critters in stereo. 3d gallery 18
Wide angle stereo. 3d gallery 19.
Telephoto Stereo. 3d gallery 20.
2D to 3d Conversion. 3d gallery 21.
Stereos from outer space. 3d gallery 22.
Review of the Panasonic Lumix 3d digital camera. 3d gallery 23.
Reverberant flash for shadowless lighting.
Digital stereo photography tricks and effects.
Shifty methods for taking stereo pictures.
Guidelines for Stereo Composition.
![]()
Input and suggestions are welcome at the address shown to the right.
Return to the the 3d and illusions page.
Return to Donald Simanek's front page.
—Donald E. Simanek